
4-Ingredient Vegan Soy Cream
May 13, 2023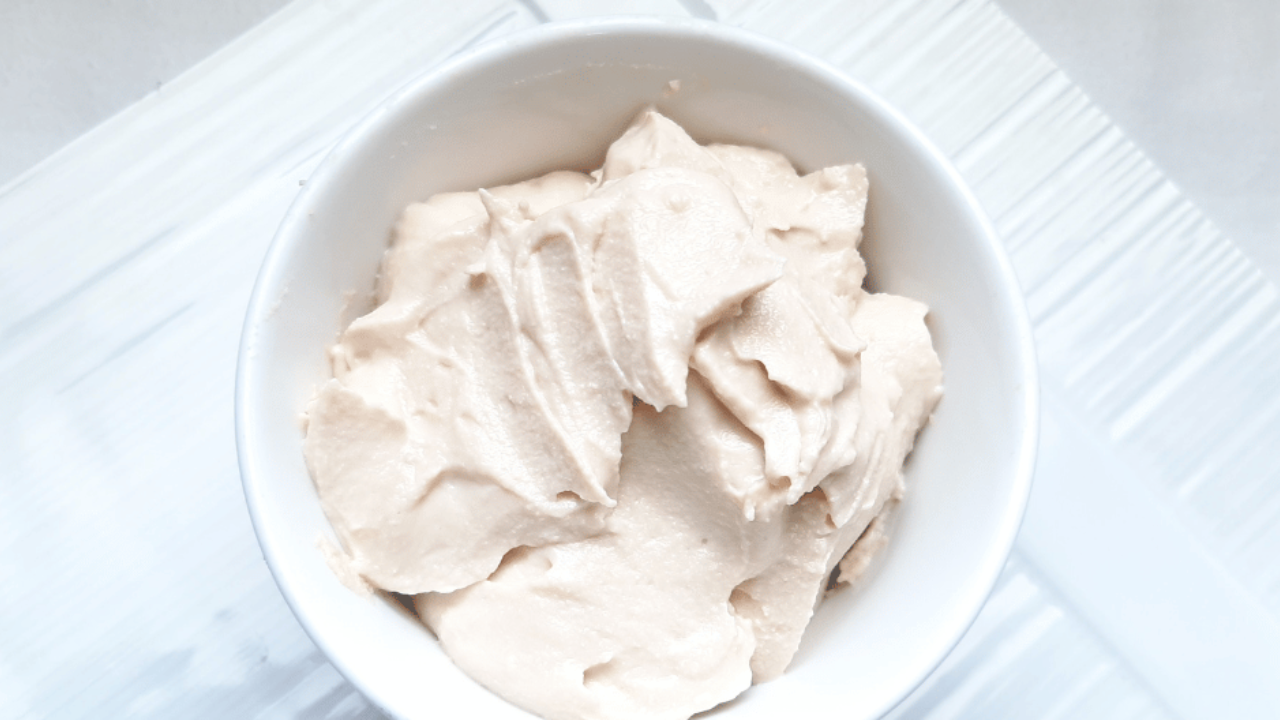
When you start a whole food plant-based diet, one of the things you may wonder about is how to modify foods to be dairy-free, especially in baking. What do you use in your recipes now that you want to move away from cow’s milk, butter, cream cheese, whipped cream and sour cream? Well, there are definitely now a lot of commercially processed dairy-free alternative products available and quite a few vegan or plant-based frosting cream recipes on the Internet. But many of these online recipes often feature commercially processed dairy-free products and use a ton of refined sugar such as powdered sugar, so they aren’t really that healthy.
That was my challenge a few years ago when I started a plant-based diet. I wanted a healthier alternative to the vegan frosting recipes that I found online - one that WASN’T loaded with sugar and didn’t use processed vegan dairy-free products like vegan butter. But I had trouble finding one, and things were starting to get a little stressful. I had just finished baking a birthday cake for a neighbor’s son and now needed a ‘cream’ filling between the layers, and that party was coming up in about 2 hours!
In this race against time, I put on my thinking cap and improvised FAST. Thankfully, my kitchen experiment and attempt at creativity worked, and this recipe was born. I used this 4-Ingredient Vegan Soy Cream to be the filling between the 2 layers of cake, and had it ready in time. Everyone enjoyed the party, including the birthday cake at the end!
A Good Low-Sugar Protein-Packed Option
What I love about this 4-Ingredient Vegan Soy Cream is that it’s not only simple and fast to make, it is also oil-free, low-refined-sugar (compared to many other vegan frosting recipes), protein-rich and gluten-free (just make sure to use gluten-free tested cornstarch). I have since used this soy cream to be the filling in homemade plant-based Oreo cookies and even as a frosting over cakes and other baked goods.
But one thing to note: Once made, this vegan soy cream stays moist and is perishable, so keep it in the fridge until use. I recommend using it to top or fill baked goods right before serving, then keeping any leftover baked items in the fridge afterward for up to 3 days. This soy cream is also not freezable.
Double the recipe below if you need to, if you want to cover the top of an 8-inch diameter cake AND use some to be the filling between 2 cake rounds. Also, for the best results, you’ll want to use extra firm or firm tofu instead of the other softer versions of tofu. Here’s the recipe!
4-Ingredient Vegan Soy Cream
Recipe by: Anna Tseng | PlantNourished
Prep Time: 15 – 20 min
Cook Time: 5 – 10 min
Total Time: 20 – 30 min
Makes ⅔ cup
Ingredients:
- 1 cup chopped firm or extra firm refrigerated tofu [135 g] (see below for preparation method)
- ½ cup unsweetened or original flavored soy milk [120mL] (or other plant-based milk)
- 1 tablespoon corn starch (or corn flour)
- 2 tablespoons maple syrup
Instructions:
Press the Tofu to Remove Excess Water
- Take half a block of firm or extra firm refrigerated tofu (this is not the silken tofu product that comes in unrefrigerated boxes such as the Mori-Nu brand). (You would want to press enough tofu to yield 1 cup of chopped tofu.)
- Wrap the tofu block with two pieces of paper towel and sandwich it between two heavy plates. To speed up the pressing process, you can place something heavy on top of the upper plate as well (this can be a book, winter squash, more plates…etc.). Let the water drain out of the tofu to soak the paper towels. After 10 minutes, remove and replace the paper towels with dry ones (if they are soaked through), then press the tofu for another 5 minutes.
- Check the pressed tofu and replace the paper towels with dry ones again if needed. The goal is to press as much water as possible out of the tofu, so in the end, the paper towels wrapped around the tofu should be relatively dry.
- Once the tofu block has been pressed relatively dry, remove the tofu from under the heavy plates and cut the tofu into about 1/2-inch cubes to fill a ‘1 cup’ measuring cup. Put this amount into the blender or food processor bowl.
Make the Filling Mixture
- Meanwhile, halfway through the tofu draining process, you can start to prepare the soy milk mixture. Mix the cornstarch (or corn flour) and soy milk together with a wooden spoon until well blended in a small pot.
- Next, heat this mixture over low-medium heat on the stove, stirring often with a wooden spoon. After about 5 minutes, the mixture should begin to thicken. When this happens, turn down the heat down to ‘low’, and continue to stir the pot contents well. The mixture should thicken up soon into a watery glue-like consistency. Once it does, quickly turn off the heat, and move the pot to a separate cool burner. (Note: this mixture will continue to thicken over time, so it is best to use it to make the frosting as soon as you can.)
- Immediately measure out ¼ cup (or 4 tablespoons) of this thickened soy-cornstarch mixture and add that into the blender or food processor. Next, add in 2 tablespoons of maple syrup.
- Blend the combined mixture together, stopping a few times to scrape down the sides of the container using a rubber spatula.
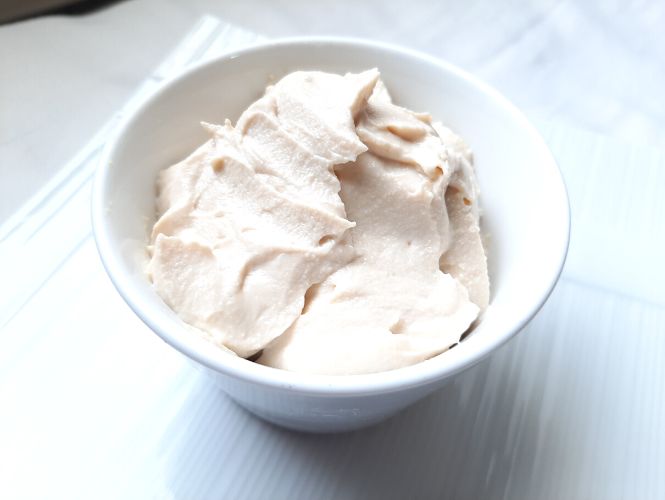
- Once fully blended and mixed together, the frosting should be a smooth creamy texture. It’s now ready to be used!
Recipe Notes:
The finished frosting is soft and moist, and it stays that way, so don’t expect it to harden and dry up. This frosting will also have an off-white creamy tinge due to the brown maple syrup (the same if honey or agave nectar is used).
Keep the frosted cake, muffins or cupcakes refrigerated until serving time. Store leftover frosting or frosted baked goods in the refrigerator.
Corn starch and corn flour in general are gluten-free but there could be the potential for cross-contamination at the manufacturing level if the facility also processes wheat or other gluten-containing products. So, it is best to get a corn starch product that is tested and confirmed to be gluten-free if you need to absolutely avoid gluten.
I hope you enjoy this recipe as much as my children do. Often if there is extra ‘cream’ left over after using it to fill or top my cakes or other treats, my children usually clamor to eat it. And I let them – because it’s protein-rich, calcium packed and pretty low refined sugar, so why not? Enjoy!
Before You Go, Grab this FREE Resource
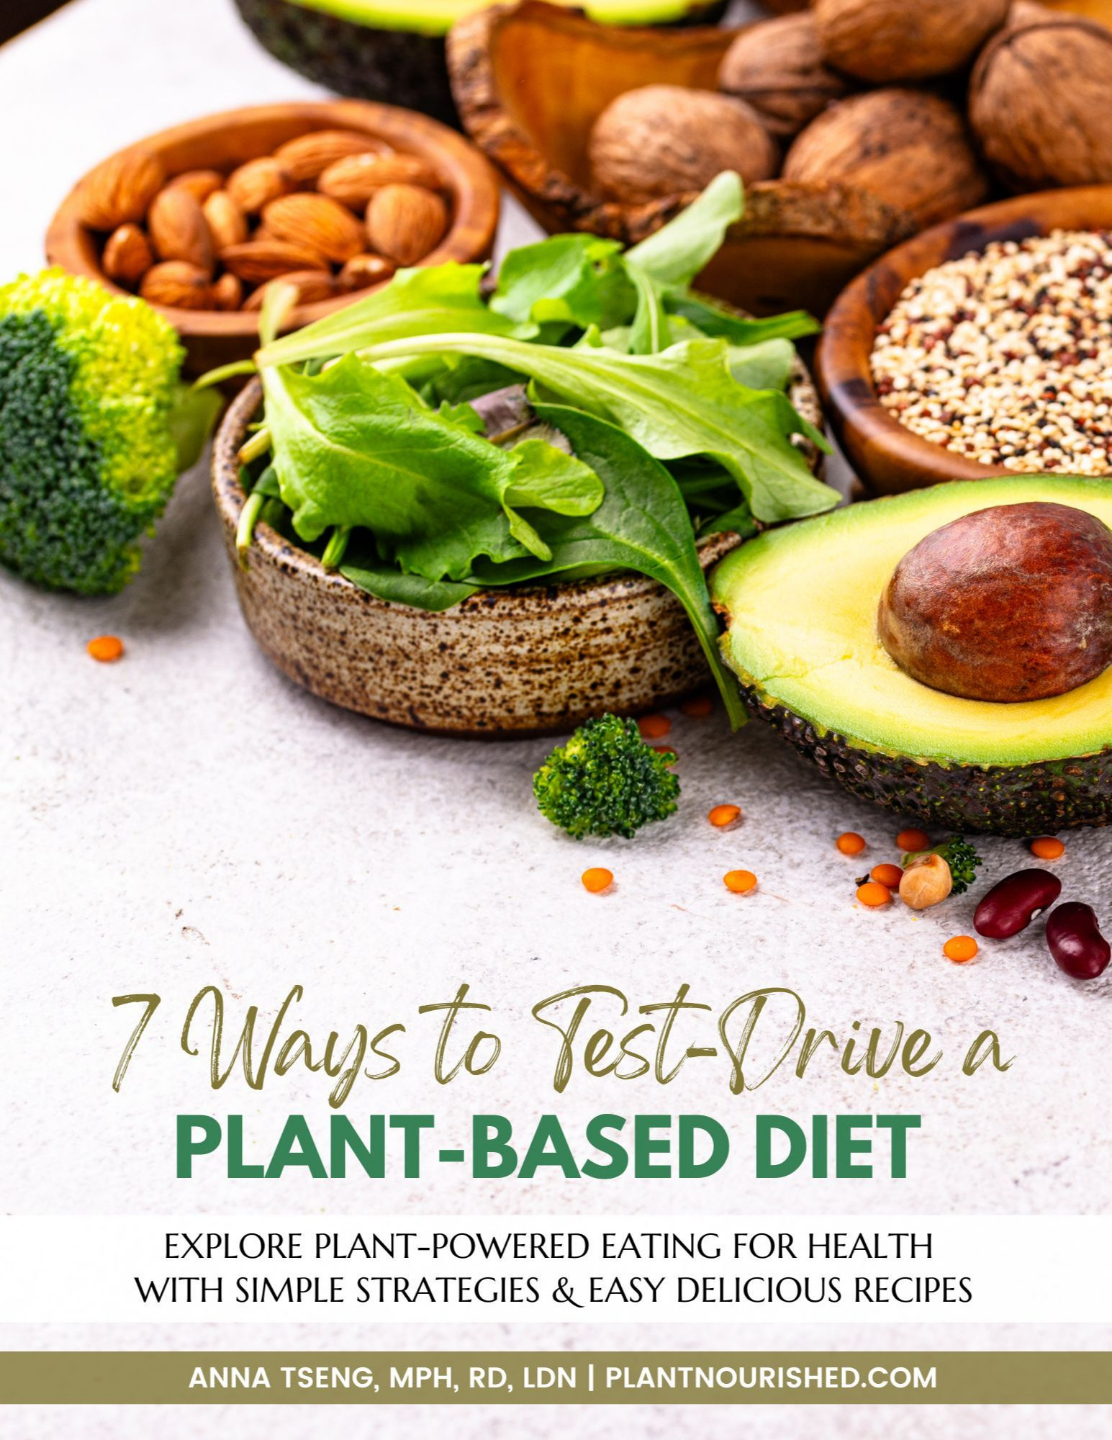
If you’re wanting to explore the world of plant-based eating in an enjoyable and low-stress way, grab the FREE ‘7 Ways to Test-Drive a Plant-Based Diet’ resource.
This 20-page Free E-Guide is packed with simple strategies, smart pro-tips and super easy plant-based recipes. This resource is perfect for you if you’re curious to find out what a plant-based diet lifestyle is like, or if you’re ready to begin but need clear guidance, recipes and tips to help you get started!
Author

